

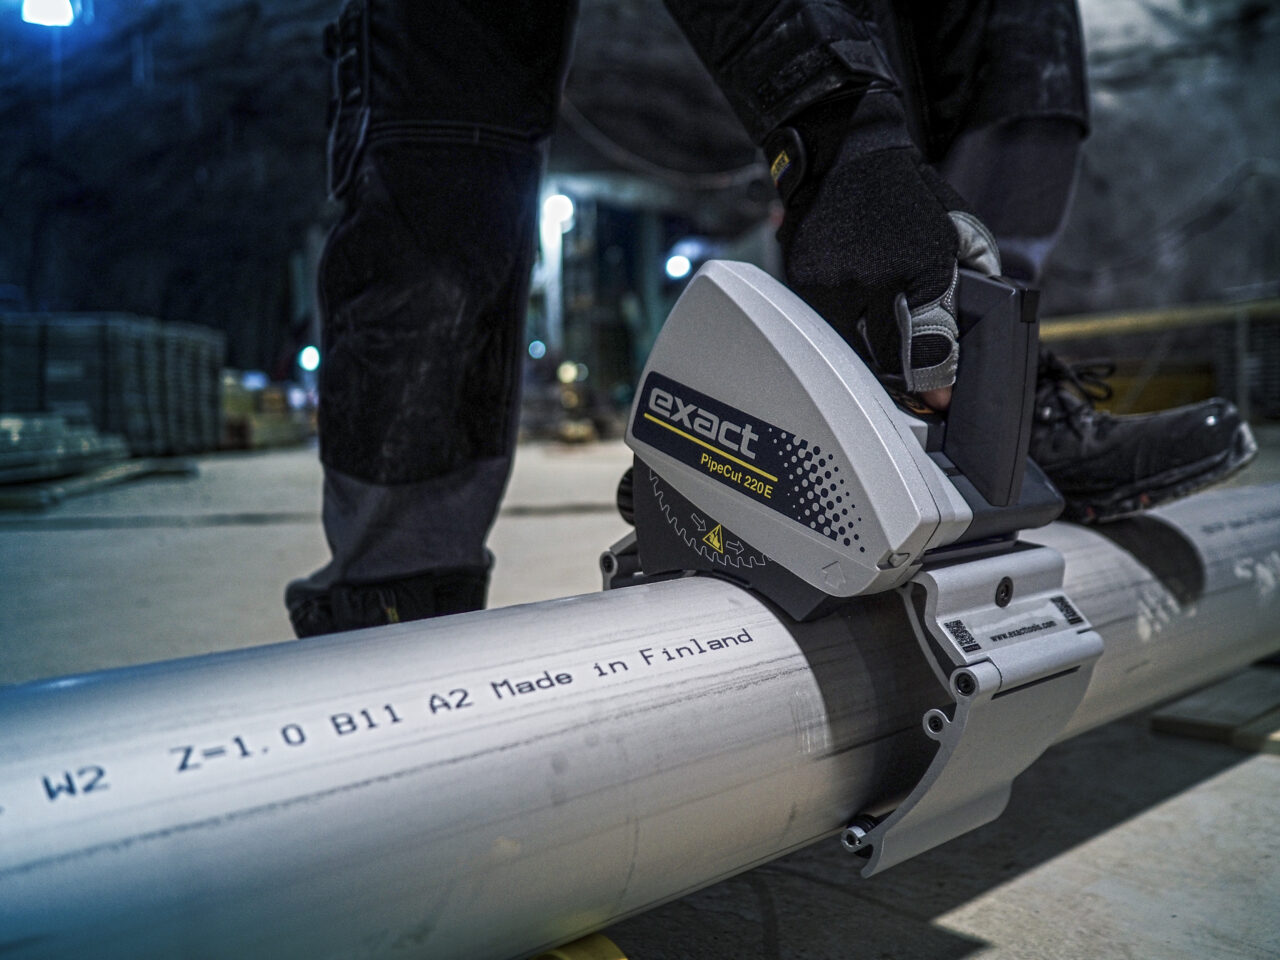
Cutting a big pipe on site is satisfying when the setup is right and frustrating when it is not. This guide walks you through running the PipeCut Infinity from the moment it arrives on site to the finished cut, so you get straight, clean ends on large-diameter pipe without wasted passes.
We cover the practical order of work: matching the machine to the pipe, wrapping and tensioning the chain, power and speed, fitting the blade, starting the cut and keeping it square. It is written for contractors, utility crews and plant maintenance teams cutting steel, stainless, ductile iron and plastic pipe from 360 mm (14 in) upwards. Choosing which machine to buy is a separate question. This article is about operating the machine once it is on site.

Matching the PipeCut Infinity to Pipe Diameter and Material
Start by confirming that the pipe sits inside what the machine can handle. This takes two minutes and saves you from discovering a mismatch with the chain already wrapped.
The PipeCut Infinity works on pipe from 360 mm (14 in) OD up to 1850 mm (72 in) with the supplied chain set. Additional chain sections in 0.1, 0.2, 0.5, 1.0 and 2.0 m lengths increase the maximum OD. For how the Infinity takes over once a pipe outgrows gripper-type machines, see our comparison of the Pro Series and PipeCut Infinity. For selection questions above 360 mm, our guide to large-diameter steel pipe cutting covers that ground.
- Outside diameter: measure the OD, not the nominal size on the paperwork.
- Wall thickness: the maximum wall is 16 mm or 20 mm in steel, depending on the version, and 43 mm in plastic.
- Material: the machine cuts steel, stainless steel, ductile (nodular) cast iron, glass fibre, aluminium, copper and plastics.
- Conditions: for wet or underwater work, the hydraulic PipeCut HYDRA Infinity is the model built for those conditions, covered further down.
You are ready to move on when the OD, wall and material all fall inside those limits and you know whether the site is dry or wet.
Choosing and Wrapping the Right Chain Length
The chain holds the machine on the pipe, so getting the length right is the foundation of everything that follows. The principle is simple: the chain sections combine to wrap around the pipe, and the length you are working with is the pipe circumference, which is OD x 3.14.
The supplied chain set includes two 2 m sections, one 1 m section, one 0.5 m section, two 0.2 m sections and one 0.1 m section. Because the chain is built from flexible segments, the gripping unit extends to fit larger pipes. For the exact chain lengths that suit your pipe size, refer to the operating instructions supplied with the machine. If you need a manual or extra sections, our spare parts and manuals page and the accessories category are the places to go.
- Calculate the circumference by multiplying the OD by 3.14.
- Check the operating instructions for the matching chain length and assemble the sections.
- Place the machine at the cut line and wrap the chain around the pipe, connecting it as the instructions describe.
- Check that the chain lies flat against the pipe with no twisted links, and that the machine sits square to your cut line.
Leave enough working room around the pipe. Our guide on clearance around a pipe for cutting is a handy check, and if the pipe is in a trench, run through these five trench planning checks before work starts.
Tensioning the Chain: Crank or Power-Drill Gearbox
The tensioner draws the chain tight so the machine stays rigid on the pipe throughout the cut. A secure hold means a straighter cut and less vibration.
The PipeCut Infinity comes with a tensioner and crank, so you can tighten the chain by hand. If you cut several times a day and the crank is too slow, the tensioner with gearbox lets you connect a power drill instead. It is sold separately and comes with an extension and a swivel for attaching the drill.

Once the chain feels tight, run these checks:
- Push the machine gently by hand. It should not rock, twist or creep along the pipe.
- Look along the chain. It should sit evenly around the pipe with no loose loops.
- Confirm the blade is still lined up with your cut mark.
If the machine moves under a firm hand push, tighten further and check again. The operating instructions describe the tensioning procedure for your version, and the manuals page has current copies.
Power Supply and Cutting Speed
This step covers your power supply and the blade speed for the material.
The machine runs on 1600 W / 15 A (110 V) or 2500 W / 12 A (220 V). If you are working from a generator, size it properly: 3 kVA for 100 to 120 V, and 5 kVA for 220 to 240 V. Check the rating before you start, because an undersized supply makes it hard for the machine to cut properly.
The machine offers two blade speeds, low at 1900 rpm and high at 2900 rpm, and blade speed preselection lets you set the speed before the cut starts. The electronics add overload protection, soft start and torque control, and a traffic light system supports cutting precision. The operating instructions explain what the indicator states mean on your machine.
A good checkpoint: the generator or mains supply matches the machine version, and the speed is preselected for your material.
Selecting and Installing the Correct Blade
The right blade makes the cut faster and cleaner, while a worn or wrong one is behind many slow, rough or wandering cuts.
The machine takes blades in 140, 165, 180 and 190 mm diameters, all with a 62 mm bore, and a Cermet 165 blade is included. Blade depth adjustment is standard, so you can set how deep the blade reaches into the wall. Browse the range in our blades and discs category, and if you are unsure which blade suits which material, our blade selection guide compares the options side by side.
- Disconnect the machine from power.
- Fit the blade as described in the operating instructions.
- Check that the blade sits correctly and turns freely by hand.
- Set the blade depth for the wall thickness you are cutting.
- Reconnect power only when everything is secure.
Starting the Cut and Keeping It Square
With the chain wrapped and tensioned, the power checked and the blade fitted, you are ready to cut. The aim is a smooth start and a steady, square pass all the way round.
The machine weighs 20 kg without chains, so plan how you lift and position it. Stand clear of the blade path, make sure the pipe is supported on both sides of the cut so it cannot pinch the blade or drop at the end, and switch on with the blade clear of the pipe. Then bring the blade into the pipe gradually.
- Even chain tension: a chain that is tighter on one side can pull the machine out of line.
- Proper pipe support: support the pipe on both sides so the kerf stays open and the weight of the pipe does not clamp the blade.
- A sharp blade: a worn blade slows the cut and tempts you to force the feed.
- A steady feed: let the machine work at a constant rate rather than leaning on it.
For a look at what slows down big jobs, our article on five mistakes that delay large-diameter pipe cutting is worth reading before your next one. You know the cut is going well when the blade runs smoothly, the machine stays planted and the kerf follows your marked line.
Troubleshooting Common Cutting Problems
Most problems on site trace back to a short list of causes. Work through them in order.
The machine shifts or vibrates
Stop, switch off and check the chain. It is usually a tension issue or a twisted link. Re-tension evenly and confirm the machine is square to the cut line before you restart.
The cut is slow or the blade labours
Check the blade first. A worn blade or one that does not suit the material is the most common culprit. Then check the power: confirm the generator meets the 3 kVA (100 to 120 V) or 5 kVA (220 to 240 V) requirement. Finally, check that the speed selection suits the pipe and that you are not forcing the feed.
The cut wanders or the blade binds
Look at the pipe support. If the pipe sags or closes in as the cut deepens, it can pinch the blade. Support both sides of the cut and recheck the chain tension.
The overload protection trips
That is the machine protecting itself. Ease the feed, check the blade and restart gently. The operating instructions explain the indicator states for your version.
Maintenance, Safety and Heavy-Duty Options
A few simple habits keep the machine reliable and your crew safe across long jobs and repeated setups.
Before each job, inspect the chain for damage, make sure the sections are clean and move freely, check the blade for wear, and confirm that the Allen key and operating instructions are in the shoulder bags. Pack the machine away clean, and keep the chain sections together so you always have the full set. The spare parts and manuals page helps when a part needs replacing.
- Cut & Bevel package: cuts and bevels cast and ductile iron pipe in one pass. Our guide on cutting and beveling in one pass versus as a second operation helps you decide if it fits your workflow, and our guide to the best machine and disc for cast iron and ductile iron pipe covers disc choice.
- Blade guard with vacuum port: lets you connect a vacuum cleaner at the blade.
- Diamond discs: available for the Infinity alongside the standard blades.
If the job is wet or submerged, the PipeCut HYDRA Infinity is the hydraulic version built for wet and underwater use. Our comparison of HYDRA models and electric pipe saws in wet and submerged conditions explains when it makes sense to switch.

Always disconnect the power before changing blades or adjusting the chain, keep bystanders clear of the blade path, and never force the cut against the overload protection.
Frequently Asked Questions About Cutting Large-Diameter Pipe
What is the largest pipe the Infinity can cut?
With the supplied chain set, the PipeCut Infinity handles pipe from 360 mm (14 in) up to 1850 mm (72 in) OD. Additional chain sections in 0.1, 0.2, 0.5, 1.0 and 2.0 m lengths increase the maximum outside diameter beyond that.
What size generator does it need?
Size the generator to your supply voltage: 3 kVA for 100 to 120 V and 5 kVA for 220 to 240 V. The machine runs at 1600 W / 15 A on 110 V or 2500 W / 12 A on 220 V.
Can it cut underwater?
For wet and underwater work, use the PipeCut HYDRA Infinity, the hydraulic version built for those conditions. If your site involves water, plan the job around the HYDRA Infinity.
Can it cut and bevel in one pass?
Yes, on cast and ductile iron pipe. The optional Cut & Bevel package lets you cut and bevel in a single pass, which saves a separate beveling operation. It is an add-on, so specify it when you plan the job.
What wall thickness can it cut?
In steel the maximum wall is 16 mm or 20 mm, depending on the version. In plastic it is 43 mm. Check your pipe wall against these limits before you set up, and set the blade depth to suit.
Plan Your Large-Diameter Cutting Setup With Exact Tools
The full setup comes down to five things, in order: match the chain to the pipe OD using the circumference and the operating instructions, confirm the power supply or generator suits the machine version, fit the right blade for the material, set the blade depth for the wall, and preselect the speed. Get those right and the cut mostly takes care of itself. For cast and ductile iron, the Cut & Bevel package adds a bevel in the same pass, and for wet or underwater work the PipeCut HYDRA Infinity takes over.
Ready to plan your next large-diameter cut? Send us your pipe OD, wall thickness, material and site conditions (dry, wet, trench, power available) through our contact page, or find a dealer near you on our distributors page. To see the machine itself, visit the PipeCut Infinity product page. We are happy to help you set it up for the job in front of you.